Migrating Advanced Find/Personal Views in Dynamics 365 with XrmToolBox
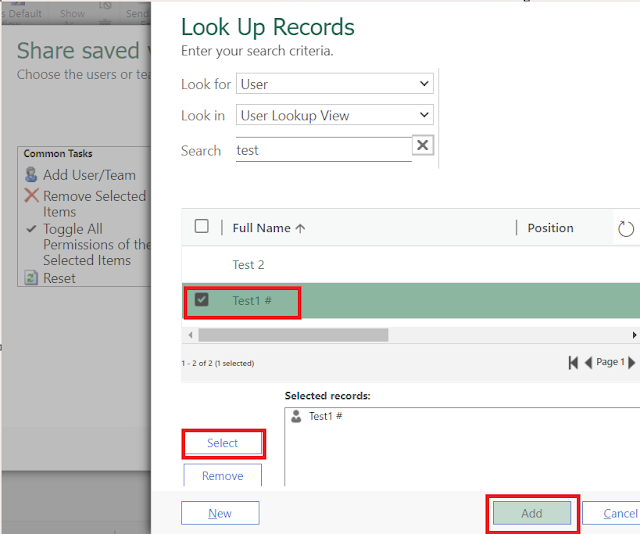
This is the second part of our tutorial. In the first part, we discussed how to create a view in Dynamics 365 and share it with different teams or users (link here). Here, we will focus on migrating personal views created using Advanced Find from one environment to another using the XrmToolBox.
Part 1 link here - Create and Share a Personal View to User or Team
Refer to this video for a detailed implementation guide-
Understanding Views in Dynamics 365
Views in Dynamics 365 are essentially filtered lists of records. By default, Dynamics 365 provides several views such as Active Contacts and Inactive Contacts. These views display selected fields like Full Name, Email, and Company Name. While you can create general views using the maker portal in Power Apps, this post focuses on creating a personal view using Advanced Find and sharing it with other users or teams.
We have two types of views in Dynamics 365:
1. Out-of-the-box (OOB) views: These can be created directly in the Power Apps maker portal. However, these views have a limitation - they cannot be shared with specific users or teams.
2. Advanced Find personal views: These are custom personal views created using the Advanced Find feature. Unlike OOB views, these can be shared with other users or teams.
In this blog post, we will focus on migrating personal views created using Advanced Find from one environment to another (e.g., from a development environment to a production environment) using the XrmToolBox. Check below snapshot for visual representation of same -
In this blog post, we will focus on migrating personal views created using Advanced Find from one environment to another (e.g., from a development environment to a production environment) using the XrmToolBox. Check below snapshot for visual representation of same -
Prerequisites
Before we start, ensure you have the following:
- XrmToolBox installed on your machine. You can download it from the XrmToolBox official website (https://www.xrmtoolbox.com/).
- Appropriate permissions in both the source and target Dynamics 365 environments.
- A user account with the necessary privileges to create and share views in Dynamics 365.
Step-by-Step Guide
Step 1: Connect to Your Source Environment
1. Open XrmToolBox.
2. Click on the "Connect" button to establish a connection with your Dynamics 365 environment.
We need to install this tool in XrmToolBox to migrate views between environments.
3. Click on "Open Tool Library."
Click on Load user button to load all the users and teams
Now, click on "Load Views" to retrieve the views from the source environment.
Search for "Personal View Migration Tool," select it, and click on the install button.
Once installed, go to the tool and open "Personal View Migration Tool."
Click on the "Connect Source" button to establish a connection with your source environment.
Click on the "Connect Target" button again, this time connecting to your target Dynamics 365 environment.
Click on Load user button to load all the users and teams
Select the desired views and click on "Migrate" button
Once the migration is done, you'll see "Migration Completed" message
Now, connect to Your Target Environment.
Navigate to the relevant entity and check if the personal view appears under "Views"
Additional Notes
- Backup Your Views: Always keep a backup of your views before making any changes.
- Test in a Sandbox: Before migrating views to production, test the migration process in a sandbox environment.
- Permissions: Ensure the user account used for the migration has appropriate permissions in both environments.
- Sharing Views: After migrating, you may need to share the view with other users or teams in the target environment.
Troubleshooting - Users and Teams: The users or teams in the source environment may differ from those in the target environment. Ensure that you reassign the views to the appropriate users or teams after migration.
Conclusion
Migrating personal views between Dynamics 365 environments using XrmToolBox is a straightforward process. By following the steps outlined in this guide, you can ensure a smooth transition of custom queries, helping maintain consistency and efficiency across different Dynamics 365 environments.
Part 1 link here - Create and Share a Personal View to User or Team
To learn more about Dynamics 365 and other related tutorials, check out my YouTube channel, Power Dynamix, and my blog, here.
If you have any questions or need further assistance, feel free to comment below.


